The following procedure is an efficient means for capturing anything on your
screen and converting it to an image using any image processing software (e.g. Paint
Shop Pro, Adobe Photoshop, Corel Photo House,...etc). Some of
these software packages can be found on CAEDM by looking under Programs \ Graphics
from the Start
Menu.
Method A:
A quick and easy way of capturing an image of your screen is
by using Print Screen. Along with combinations of "Ctrl", "Shift" and the "Alt"
keys you can conveniently capture the object of your interests in your screen.
And with little cropping, you can even customize your image to a sub-image. Here
are some quick steps:
-
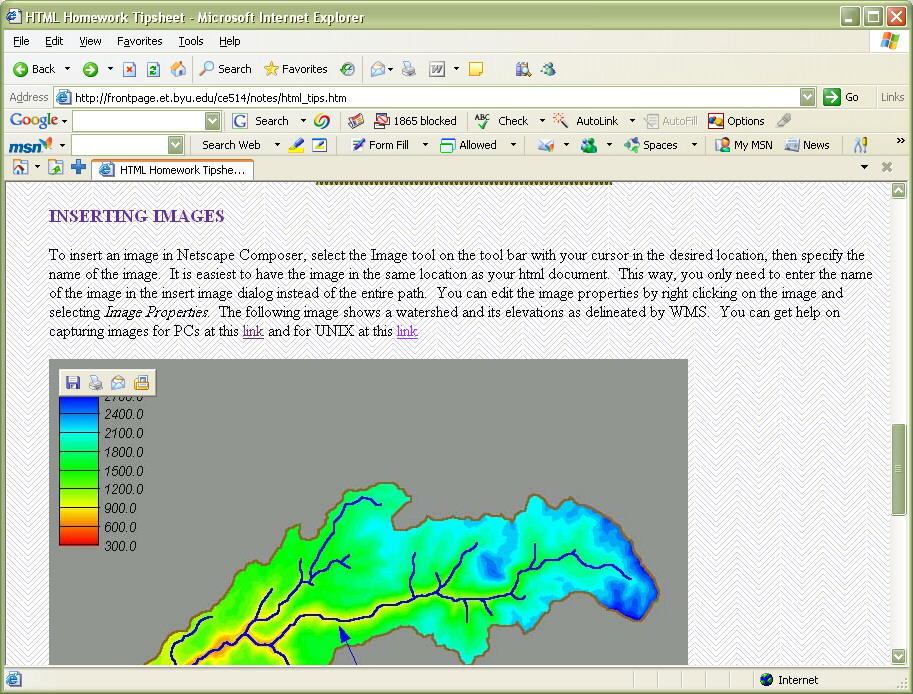
Prepare the image that you want to capture.
-
Press "Ctrl" + "Alt" + "Print Scrn - SysRq" button on your
keyboard. This will copy the window of the entire application in which you
prepared your image in (see the following image) to the Clipboard.
-
Open any image processor (even Paint) and "Paste" the
capture there. (by pressing "Ctrl" + "V" in a new document)
-
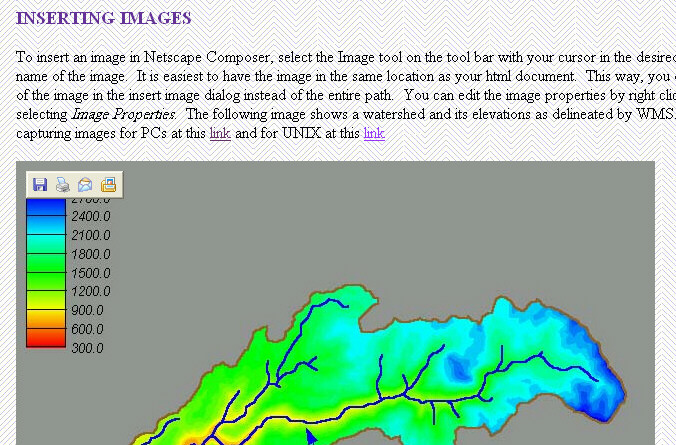
You can modify the image the way you want. Some
modifications involve cropping the image to screen out some unwanted parts of
the image like the collars. (see the following image)
-
Save the image after your modifications to the
desired location.
If you just use "Print Scrn - SysRq" button on your kepboard,
it'll copy a live capture of your screen as is with all programs/windows open.
not just the current application (see the following image).
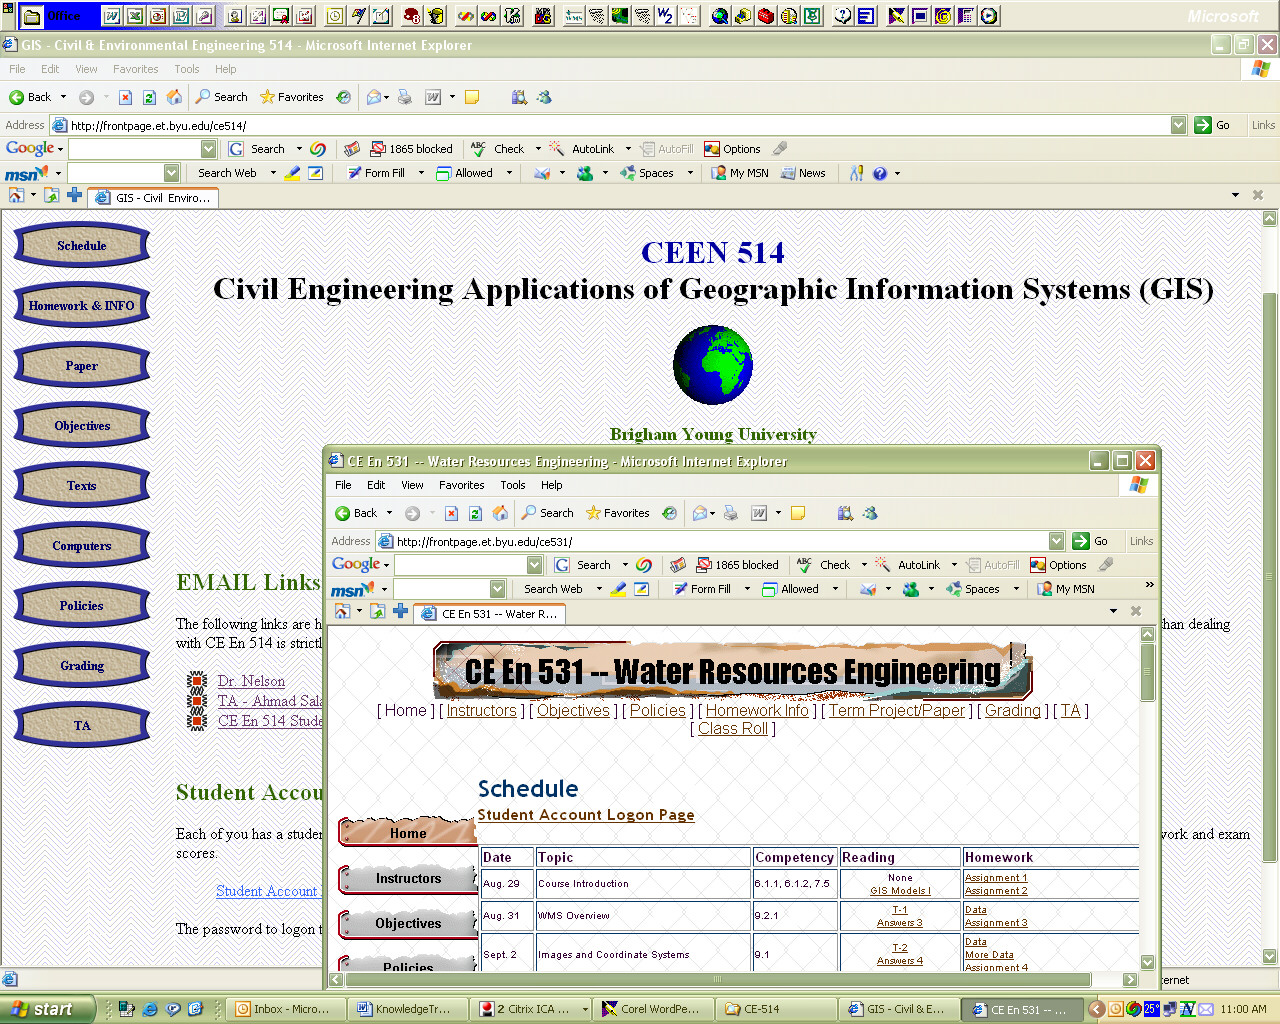
Yet, you can still crop the image to the application you
wanted as illustrated later or just get the current application as illustrated
above.
Method B:
If you're planning on using Paint Shop Pro, for more
customized capture, you can follow these steps.
-
Prepare the image that you want to capture.
-
Select the Capture heading from the Paint Shop Pro drop down menu.
-
Select the Setup option to open the Capture Setup dialog box.
-
Choose your desired capture type: Area uses a selection window to
designate the desired capture area, Full Screen selects everything
visible on the screen at the time of the capture, Window
selects only those objects contained within the chosen window or
frame (for applications like WMS which operate in multiple frames).
-
Choose your desired method for activating the image capture. The hot
key option is useful for situations where left mouse button is reserved for
use within the program where the screen capture is to be performed.
This is generally not a problem when capturing images within WMS.
-
Select OK to close the Capture Setup dialog box. note:
once the setup has been performed, screen captures can be performed by
following steps 7-13.
-
Select the Capture heading from the Paint Shop Pro drop down menu.
-
Select the Start option to capture the image. Once the
start option has been selected, Paint Shop Pro will automatically minimize
and the previously viewed application will be maximized.
-
Press the left mouse button or the hot key once to activate the screen
capture sequence. note: if the Full Screen option was selected in
step 4, pressing the right mouse button or the hot key will capture the
screen with this single step.
-
If the Area option was selected in step 4, position the cursor at
the desired start point and click the left mouse button once to open the
selection window and then again to close the window when the desired area
has been enclosed.
-
If the Window option was selected in step 4, position the cursor
within the desired frame and click the left mouse button once to capture the
frame.
-
Once the capture area has been defined, using any one of the three methods
outlined above, Paint Shop Pro will maximize automatically and the captured
image will appear in a new window.
-
To save the new image, select Save As from the File drop
down menu. Give the file a name and choose an image format. It
is suggested that all captured images be saved under the .jpeg
format.
Method C:
If Paint Shop Pro is not available the following procedure may be followed to
perform screen captures:
The following procedure is good for capturing anything on your screen as an
image. It involves a little bit of editing, but is very simple if
you follow this procedure. The images that are on this page were captured
using this procedure.
-
Prepare the image that you want to capture.
-
Select the Print Scrn|SysRq key on your keyboard (it is right
next to the F12 key). This will print whatever is on your screen to
the clipboard.
-
Open Adobe Photoshop.
-
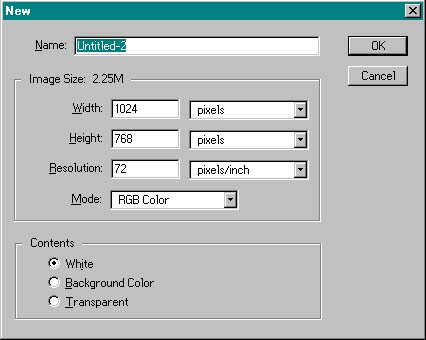
Select New from the File menu.
-
In the resulting dialog, make sure that the image width is 1024 pixels and
height is 768 pixels. Your dialog should look similar to Figure 1.
-
Select the OK button.
-
Select Paste from the Edit menu.
(HINT: If
the paste option is dimmed or the image that is pasted is a previous image that you have
captured with the Print Scrn|SysRq key, then close Adobe Photoshop and return to step 3.
Adobe Photoshop sometimes doesn't import the clipboard correctly. Closing it
and reopening it forces it to import the clipboard.)
-
The scale of your pasted image will be 66.7%. You may want to zoom to 100% to see
your image in its actual resolution. This can be done by selecting the zoom tool and
clicking once on your image. To zoom back out, right click on your image with the
zoom tool and select Zoom Out.
-
Select the
 tool and drag a box
around the desired portion of your image.
tool and drag a box
around the desired portion of your image.
-
Select Crop from the Image menu.
-
Select Save a Copy from the File menu. For color images it is
best to save as a jpeg file. The other save options you have (Save and Save
as) force you to save the image as an Adobe Photoshop image instead of a jpeg, tif,
or gif.
-
In the resulting dialog select the JPEG (*.JPG,*.JPE) option in the Save As
field.
-
Enter the desired name and location of your image and select the Save button.